
Left-Arm Spin Bowling: Build a Repeatable Stock Ball
Identify your left-arm spin type, learn a simple finger-spin release cue and use a 36-ball drill to measure turn and landing control.
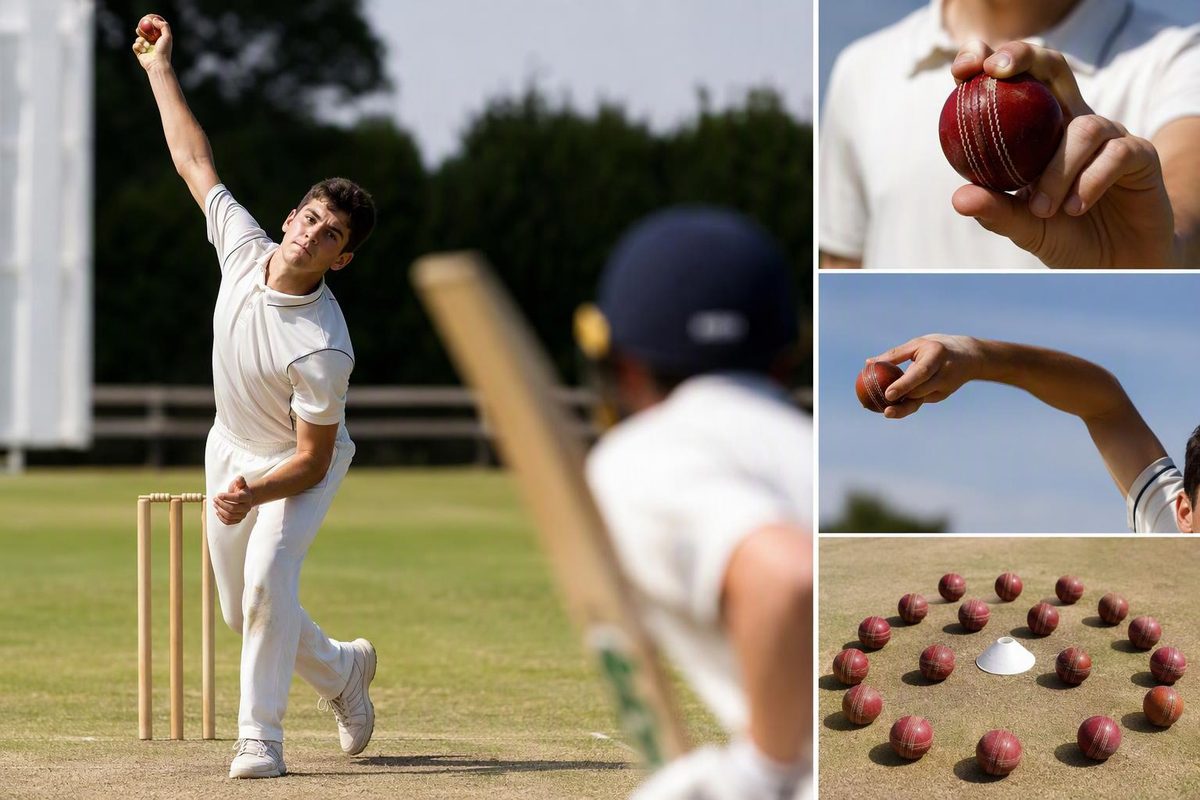
“Left-arm spin” describes two different methods. Identify yours before changing your grip or release:
- Left-arm orthodox: finger spin. The stock ball usually turns away from a right-handed batter and into a left-handed batter.
- Left-arm wrist spin: also called left-arm unorthodox. The stock ball usually turns into a right-handed batter and away from a left-hander.
These are not interchangeable releases. Left-arm orthodox uses the index finger as the main spinning finger; left-arm wrist spin uses the ring finger and a wrist-spinner’s release. The stock balls also turn in opposite directions, as set out in both a Discovery Vitality coaching manual and a published analysis of spin-bowling types.
The practice below is for left-arm orthodox spin. A left-arm wrist spinner can use the target and recording method, but should keep their normal wrist-spin grip and release.
Build the left-arm orthodox stock ball
Start with a comfortable finger-spin grip:
- Place the index and middle fingers across the seam, spread without straining.
- Let the ring finger support the ball lightly.
- Rest the thumb gently underneath, or remove most of its pressure if that produces a cleaner release.
- Hold the ball in the fingers rather than pressing it into the palm.
Keep the grip secure but relaxed. Cricket Namibia’s finger-spin guidance likewise recommends space between ball and palm, little or no thumb pressure and the index finger as the main spinning finger (Cricket Namibia). Although its demonstration is for a right-arm off-break, those grip principles also apply to the left-handed finger-spin release described in the Discovery manual.
Use one release cue: let the index finger pass over the top of the ball and pull down the seam. Aim for a release that feels clean rather than one that snags or slips. Do not force the wrist around in pursuit of large turn.
For a finger-by-finger explanation, use the off-break grip guide as a left-handed mirror image. Your left-arm orthodox stock ball will turn in the opposite direction to a right-arm off-break.
Keep the action repeatable
Approach smoothly, stay tall through release and let the bowling arm and body continue towards the target. The Discovery manual’s finger-spin model emphasises an energetic delivery, a relatively short delivery stride, a pivot over the front leg and release from good height. Treat those as checkpoints, not instructions to rebuild a comfortable action all at once.
Watch three observable features:
- Head: reasonably upright at release, rather than falling sharply to the left.
- Front side: stable enough for the bowling shoulder and hip to move over it.
- Follow-through: continuing down the pitch rather than peeling immediately towards cover.
If the ball repeatedly drops short, compare a one-step delivery with your full approach. A coaching progression published by Cricketlab isolates the action first, then moves from one pace to three paces and finally the full approach (Cricketlab). If the one-step ball reaches a better length, the approach or transition—not necessarily the grip—is the first area to inspect.
Stop if a change causes sharp joint pain. A generic technical cue is not a reason to bowl through pain.
Set up the target
You need:
- one ball or a small set of similar balls;
- three or four flat markers;
- stumps;
- a notebook or phone;
- ideally, a partner or safely positioned video to help judge the release.
Make a landing gate about one metre long and one metre wide around your normal good-length area. This is a starting size, not a universal good-length measurement. Release height, pace and the surface all affect where the ball should pitch. Move the gate until a stock ball landing in it would leave a batter uncertain whether to play forward or back.
For a right-handed batter, begin with the gate on a line between middle and off stump. The intended picture is: land in the gate, then turn towards the batter’s off side. Judge turn relative to the ball’s direction immediately before pitching, preferably from behind the bowler or keeper. Do not award a turn result to a ball that misses the landing gate; length and movement should remain separate measurements.
If control is still developing, widen the gate. A generous target makes it easier to retain a normal action than a tiny target that encourages you to guide or slow the ball. The accuracy-without-losing-revolutions drill develops that balance further.
Bowl the 36-ball progression
The scores below are working checkpoints for this session, not scientifically established pass marks. Keep them unchanged for several practices so that your results are comparable.
Block 1: 12 short releases
Stand five to seven metres from a partner, net or safe backstop. Bowl from a standing start or one step.
Concentrate on the index-finger release. After each ball, record:
- C: clean—no obvious slip or snag, with visible rotation;
- W: wobble or poor release;
- U: unsure because you could not see it clearly.
A partner or safely positioned video will judge the rotation more reliably than the bowler. Progress after 8 of 12 clean releases. Otherwise, repeat the block before adding speed.
Block 2: 12 one-step deliveries
Move to the pitch and bowl from one step with normal intent, not maximum effort.
Give each ball two separate marks:
- T if it lands in the gate;
- S if the release and visible rotation remain clean.
A ball can earn both marks. Use 7 target hits and 8 clean releases as the progression gate. This prevents a guided, under-spun delivery from counting as complete success merely because it landed accurately.
Block 3: 12 full-approach deliveries
Use your normal approach and bowl the same stock ball. Do not add an arm ball, quicker ball or new crease angle yet.
Record:
| Ball | Target hit? | Clean release? | Direction after pitching |
|---|---|---|---|
| 1–12 | Yes/No | Yes/No/Unsure | Away/Straight/In |
“Away” means away from a right-handed batter. A straight result is not automatically a poor release because the surface may offer little grip. Repeated “in” results, however, are a reason to check the release and the observer’s viewing angle.
Choose the next practice from the scores
Use the whole block, not the best-looking ball:
- Eight or more clean releases but fewer than six target hits: retain the release cue and work on approach, alignment and length.
- Six or more target hits but fewer than eight clean releases: return to short releases; you may be guiding the ball into the target.
- Eight or more in both categories: repeat the session once before shrinking the gate or adding a batter.
- Both scores fall at full approach: compare video or observations from the one-step and full actions. Test the approach and transition before changing the grip.
After the stock ball meets the checkpoint in two sessions, add one challenge: shrink the gate slightly, bowl to right- and left-handed batters, or change your crease position. Keep the same scoring method. Add a variation only after you can describe what the stock ball normally does.