
Stop Overstepping With a Repeatable 36-Ball Spin Bowling Drill
Check your front-foot landing, adjust your run-up only when needed, and use a 36-ball spin-bowling drill to build a reliable margin behind the crease.
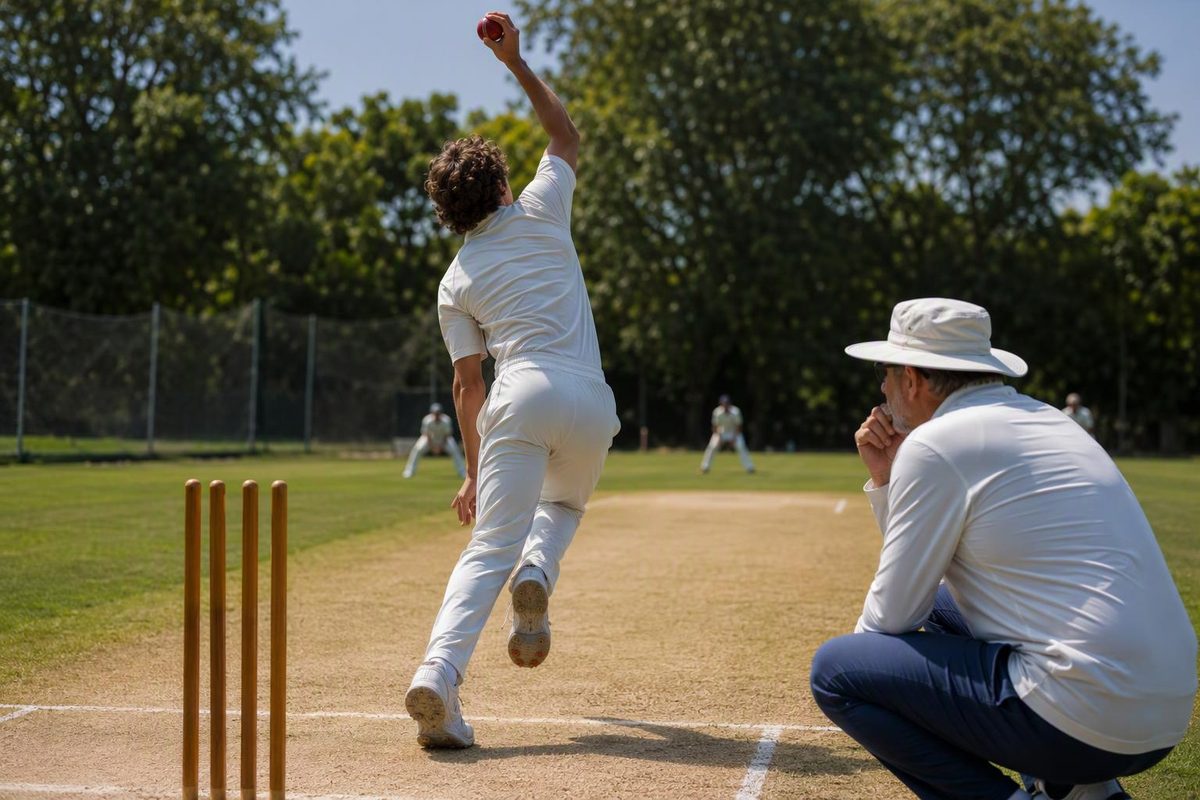
To stop overstepping when bowling spin, check where your front foot first lands. If it consistently lands too far forward, test a small, measured move back from your run-up mark. If the landing position varies, work on your approach rhythm and delivery stride instead. Practise with a visible margin behind the crease while keeping your normal stock-ball release: moving your mark back creates room, but does not make an inconsistent landing reliable.
Choose your landing pattern from side-view footage; use the result to plan your next practice block.
Choose Your Next Practice Step
Use first-contact frames, not release frames. Without JavaScript, read the matching result below.
Test a Measured Mark Adjustment
Move your start mark away from the batter by a small measured amount, such as 10 cm. Bowl 12 stock balls with the same starting foot, rhythm and stride pattern.
Check whether the landing actually moved back. The mark adjustment may not transfer exactly to your foot position.
Check Rhythm Before Moving the Mark
Keep the mark fixed initially. Compare your final approach steps, entry into the delivery stride and hop or bound take-off point, if you use one.
If the approach varies, work on repeatability. If the approach is consistent but the delivery stride varies, show several clips to a coach rather than forcing a shorter step.
Improve the View Before Changing Anything
Record safely from side-on, aligned with the popping crease, with the line and whole landing foot visible. Use slow motion if available.
Mark uncertain deliveries as unclear. Do not use them to decide that your run-up mark needs moving.
Source: the article’s 36-ball practice protocol. Adjustment distances are coaching suggestions, not legal thresholds.
Judge the Landing, Not the Release
Under MCC Law 21.5, some part of your front foot—grounded or raised—must be behind the popping crease when it lands. Your toe can be beyond the line if part of the foot remains behind it. Judge the landing frame, not a later frame at release.
The popping crease is the back edge of the white marking: the edge nearer the bowler’s-end stumps, not the edge nearer the batter. MCC Law 7 defines that boundary.
Your back foot must also land inside, without touching, the relevant return crease—the side boundary of your bowling area. Some part of your front foot must land on the same side of the imaginary line joining the middle stumps as that return crease.
These are separate requirements under Law 21.5. Ask which infringement caused a no-ball before changing your run-up. Moving your start mark back is not a correction for every kind of foot fault.
Set Up a Side-View Landing Check
Use a safe net or practice pitch, a ball, a start marker and a phone or teammate. Position the observer safely outside the bowling and ball paths, side-on and aligned with the popping crease. Keep both the line and your whole landing foot visible; use slow-motion video if available.
Choose one stock ball: your usual off-break, leg-break or other main delivery. Mark a generous 1 m × 1 m pitching target around your intended length, using flat markers suitable for the surface.
For this drill, aim to land the back of your front shoe roughly 10–15 cm behind the crease. That is a suggested starting margin, not a legal requirement or a universal optimum. If your landing varies more than that, allow more room while you work on consistency.
Use one cue: “Same approach rhythm, same stock-ball release.” Keep your usual finger or wrist action rather than making the ball gentler merely to stay legal. Look towards your bowling target during the approach, not down at the crease.
Use Three Blocks of 12 to Find and Test the Fix
Count every attempted delivery, including no-balls, so your records remain comparable.
Block 1: Record Your Unchanged Action
Bowl 12 stock balls from your current mark without trying to steer your foot into place. Record each delivery:
| Check | What to Note |
|---|---|
| Front-foot landing | Clear margin / close but legal / overstep / unclear |
| Ball control | Pitching target hit: yes or no |
| Approach | Normal / rushed / stuttered |
| Release intent | Normal / guided or held back |
Release intent is a feel check, not a measurement of spin rate. Review the landing frames after the block. If the angle cannot show whether part of the foot is behind the crease, mark it unclear rather than guessing.
Block 2: Change Only the Suspected Cause
If your landing is consistently too far forward, move your start mark away from the batter by a small measured amount, such as 10 cm. Keep the same starting foot, rhythm and stride pattern. Bowl another 12 and check whether the landing actually moved back; do not assume the adjustment transferred exactly.
If your landing is scattered either side of the crease, keep the mark fixed initially. Compare the final approach steps and the point where you enter the delivery stride. If you use a hop or bound, compare its take-off point too. Treat differences as clues, not a diagnosis from one clip.
If the approach itself varies, use the repeatable approach drill before adding more changes. If the approach looks consistent but the delivery stride varies, take several clips to a coach rather than forcing a shorter front-foot step.
Side-view monitoring and take-off-point work are also used at elite level. India spin coach Sairaj Bahutule described both when discussing overstepping, noting that extra effort on particular deliveries could contribute, according to Cricbuzz’s report. That is a useful pattern to check, not proof of what causes your no-balls.
Block 3: Test the Better Setup Under Match Intent
Keep the better setup. Bowl 12 stock balls as two imagined overs, scoring one point for each pitching-target hit. Use normal match intent, but do not deliberately add a bigger bound or faster approach.
Check whether pressure brings back rushing, reaching or a reduced crease margin. Keep variations out of this session so you can compare like with like.
Progress Only When the Margin and Release Hold Up
Use this practice checkpoint: two consecutive 12-delivery blocks with no observed oversteps, a visible margin on every delivery, normal release intent throughout and a target-hit count at least as good as your first block.
This is a progression target, not a guarantee of match legality or unchanged spin rate. If necessary, repeat the final block at your next session. A legal landing achieved by guiding the ball or holding back your release has not yet met the checkpoint.
Before a match, measure the tested run-up again and check a few warm-up landings. After a no-ball, ask the umpire what caused it and, for an overstep, roughly how far you were over. Make a measured adjustment—not an automatic extra step—and keep your usual release.